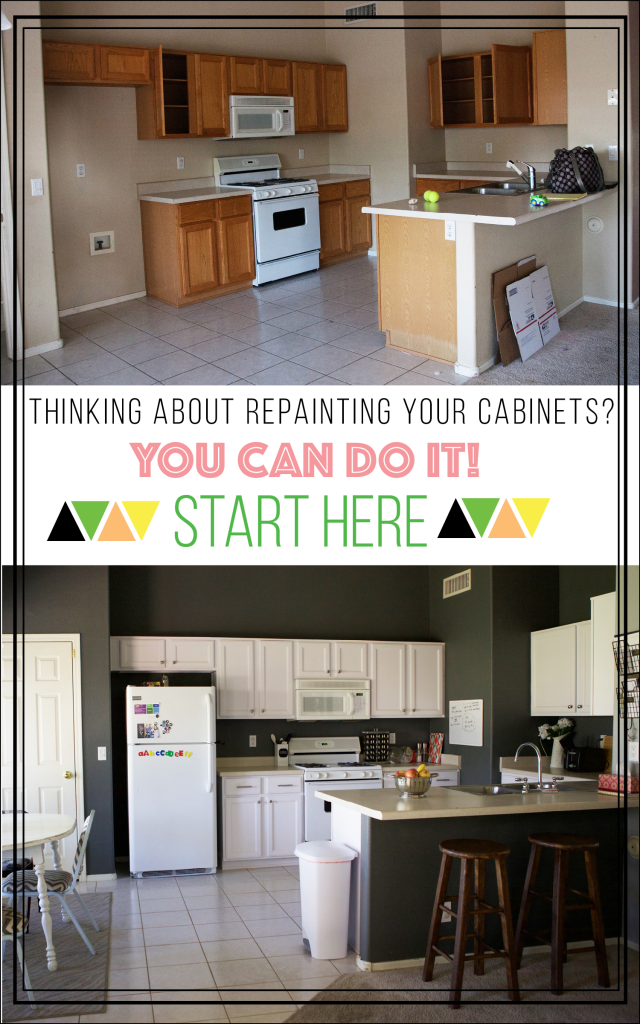
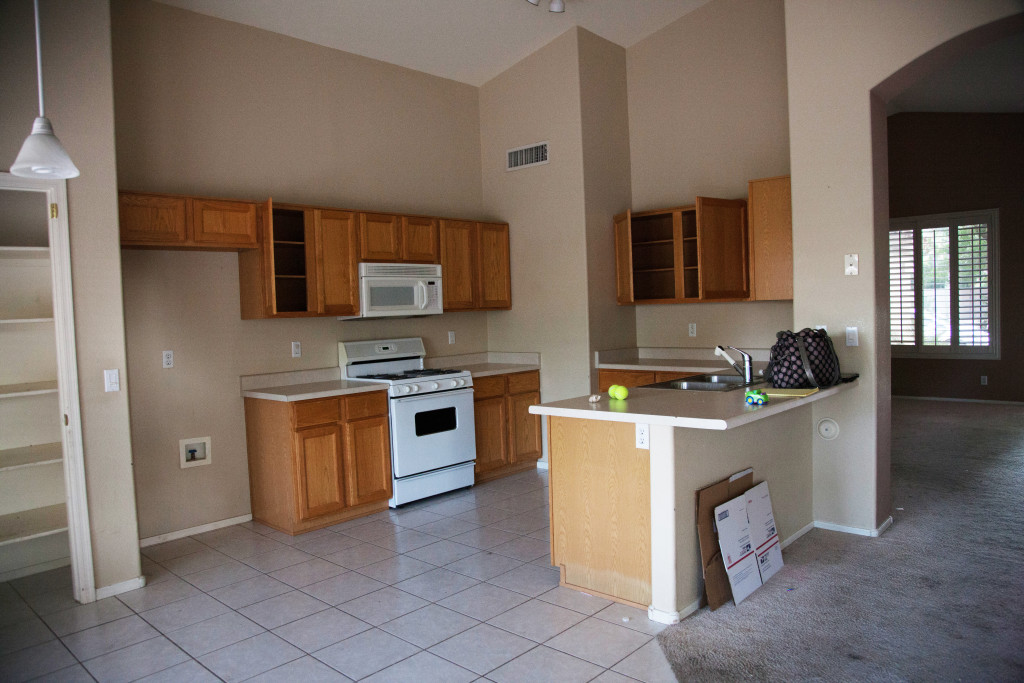
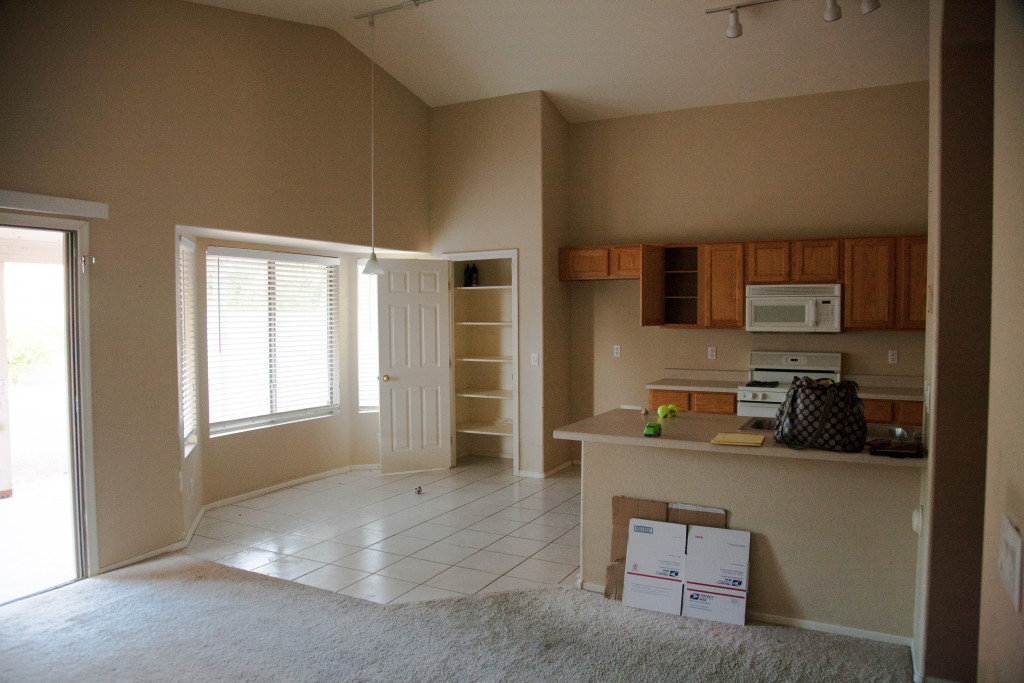
When we moved into our first home, the first project on my list was the cabinets! I was sooooooo excited to paint those orange oak cabinets 1.) because they were orange orange orange and would not go with my new gray walls, 2.) because I had seen so many cool cabinet transformations and had been waiting for years to try my hand at it!
This is what we started with…
So first things first:
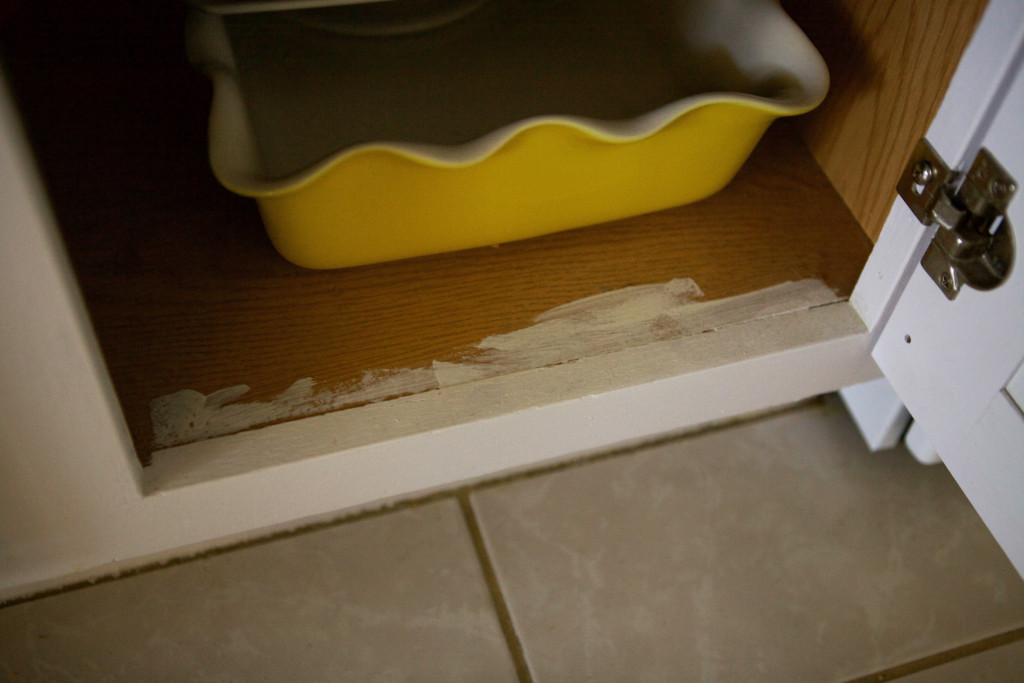
- Inspect and make a plan. The cabinets themselves were actually in REALLY great condition. So we didn’t plan on much scrubbing or sanding but make sure to look into that and prepare yourself. Also, check out your boxes and decide if you need to tape around them on the walls or inside the cabinets themselves. I was thinking I would paint the inside of my cabinets, but I decided not to and I wish I would have taped inside my cabinets to prevent what you see below. I decided it didn’t really matter because the cabinet doors will be shut, but it kind of bugs me now.
- Also, prep the space that you’ll be using. We used our garage and put painting canvases and plastic sheets under everything. We used a big paint sprayer, so you might not need so much protection if you’re using paint brushes. Thats the whole purpose of these first two steps, to figure out what YOU will need.
- Once your plan is in place, remove all the doors and hardware… Not my favorite part.
We didn’t feel the need to number our doors and drawers just because our set up wasn’t that difficult to get mixed up. But a lot of people do number their doors. Of course this only works if you can find a spot on your door that is not going to be painted over.
- Next step is to clean and sand. We did not go crazy with the sander for our cabinets. I tried to make sure to get all the surfaces but seriously I just skimmed over everything and it turned out great! So, I would say don’t stress over the sanding.
- Once everything is sanded and wiped down you can start priming! Priming is so important! We used Valspar Bonding Primer from Lowes and thought it did the job great. We used an industrial paint sprayer for our doors which made a huge difference!! Mostly it cut back a lot of time and hand cramping. Not everyone has access to one of those big guys though, my advice would be to use a foam roller. I used one for the boxes and our drawers and it worked pretty well, except when it would slide across the wood instead of roll. But we made it work and I think it worked better than a bristle brush. Those things cramp up my hands up so much!
We only did one coat of primer. But you might need to do more depending on what you’re working with. I kind of wish we would have done two because we probably would have used less paint to make up for it.
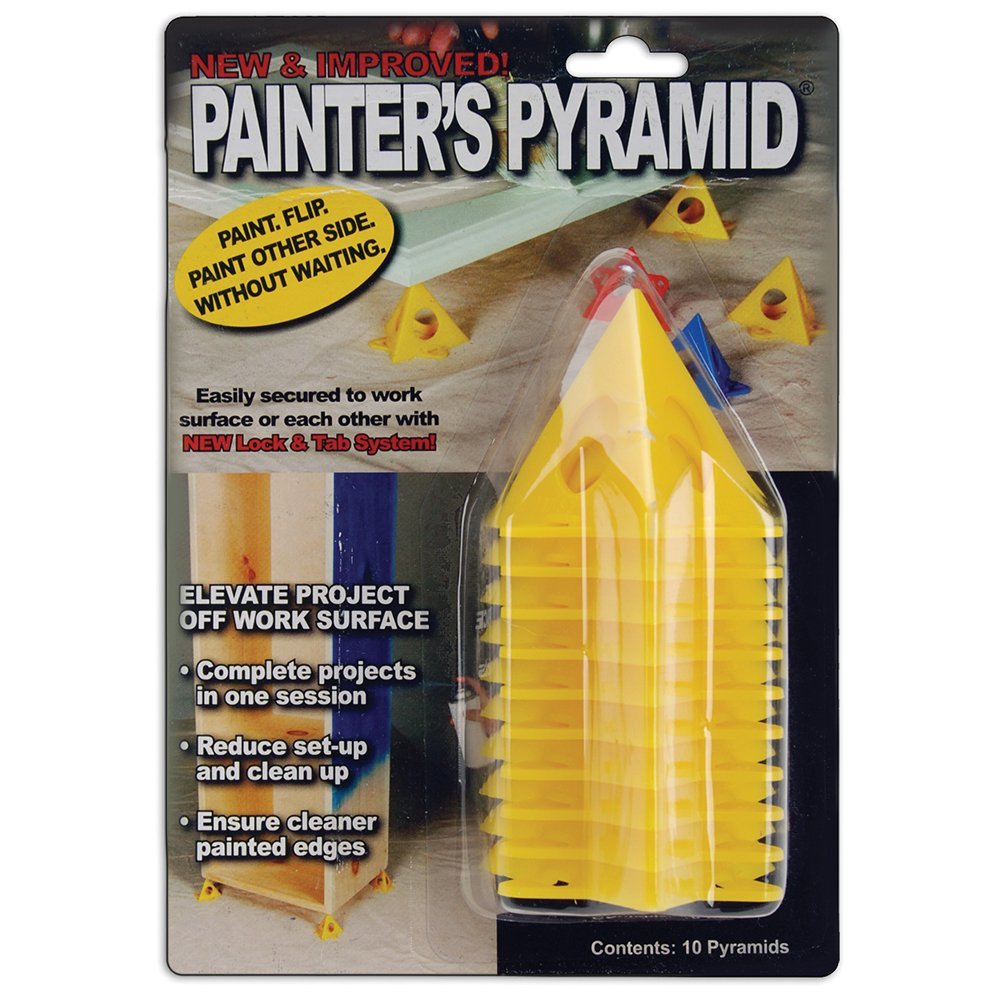
Painter’s Pyramid Stands
(affiliate link)
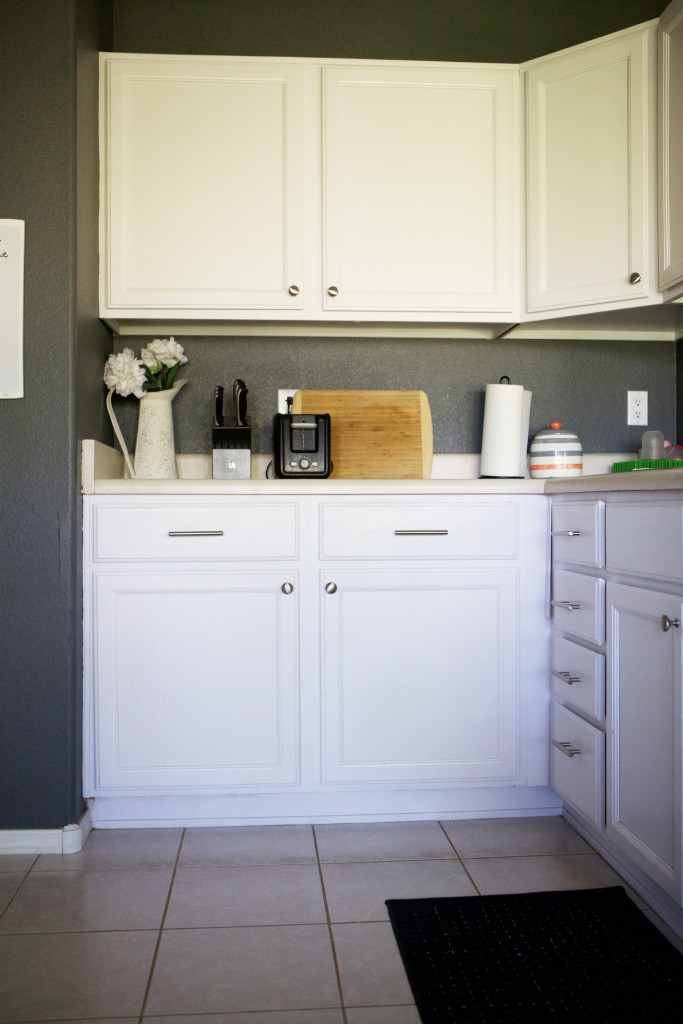
- Once your primer is dried, crack open that paint can! We used Sherwin Williams Dove White which was recommended to me by my cousin, who said it looked great with her grey walls. So we went with it!! It’s always nice to ask advice from someone you know and trust who’s recently done the same project you’re doing. Am I right?
We did two coats of paint and were very happy with it! Honestly, after the sanding and priming, painting is probably the easiest part.
- Once everything is dry, grab those baggies of hardware and put those puppies back up! It took us a couple of weeks to finally get ours back up because we were so busy with everything else that comes with a new house. That’s my excuse, when really it was just easier to leave them in our garage. Don’t wait like we did. JUST DO IT! You will love yourself after.
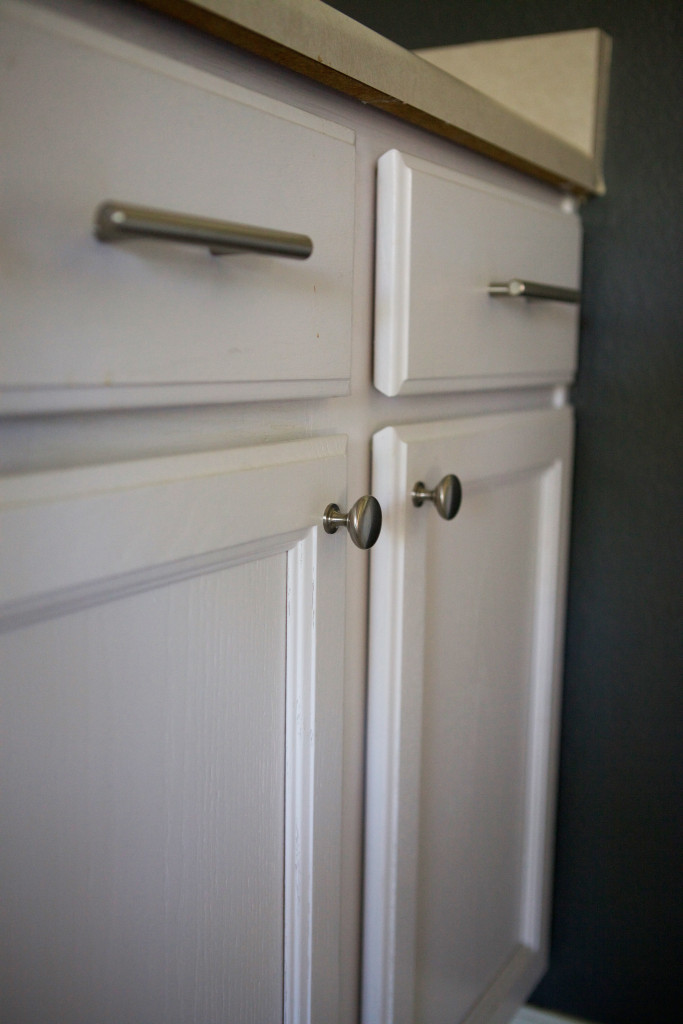
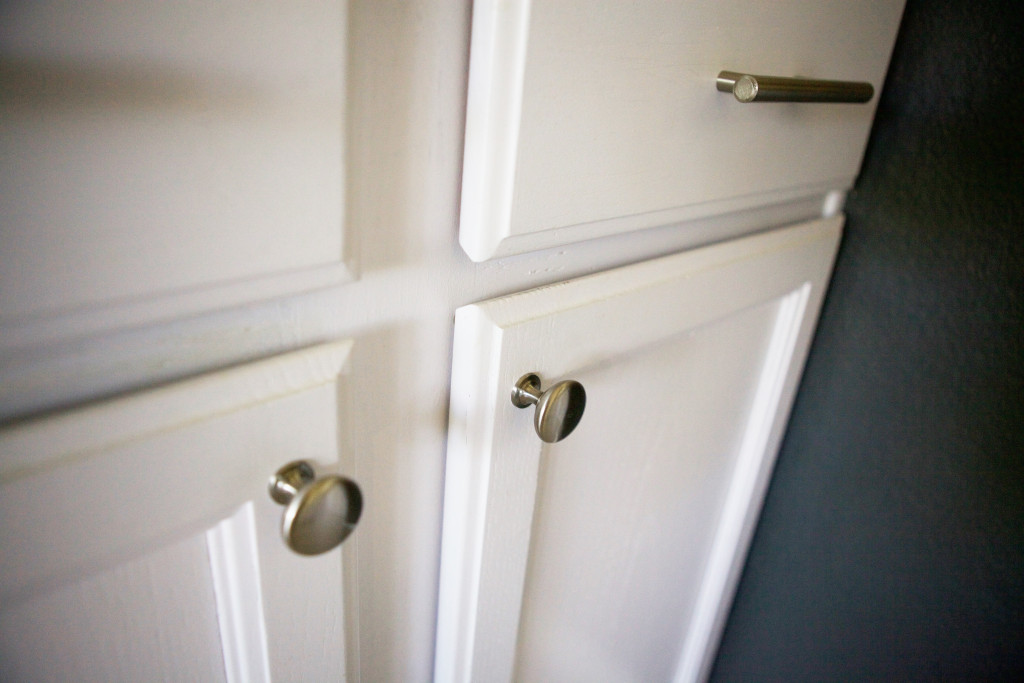
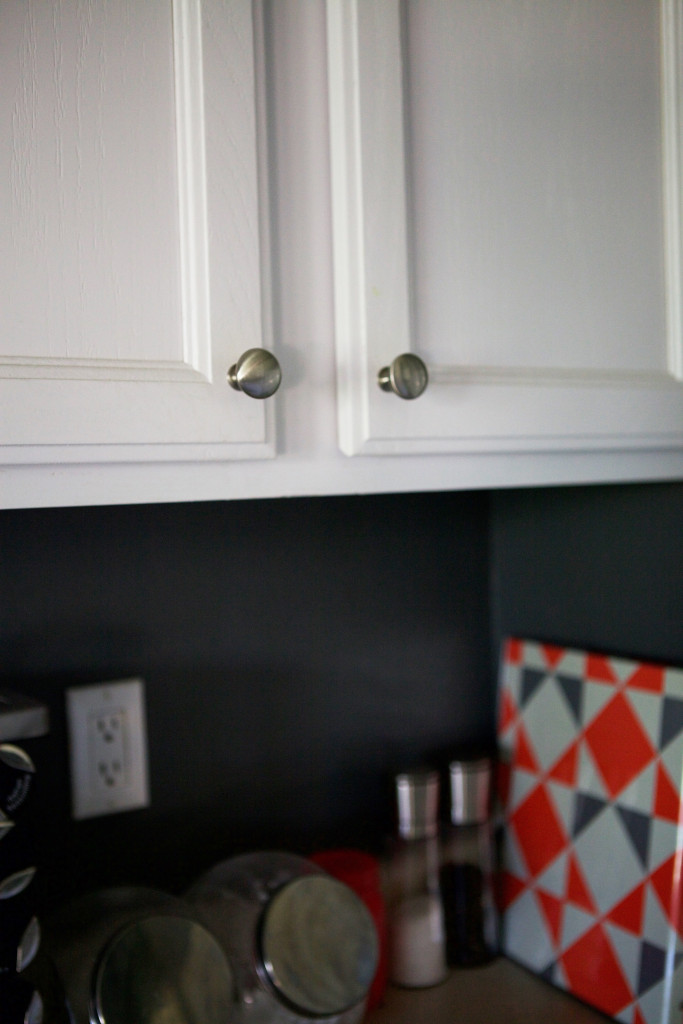
- This last step is optional but will make you feel so happy. KNOBS AND PULLS. We waited about seven months until we finally ordered and installed our knobs and pulls. That’s a whole different story and tutorial, but I felt like such a grownup once those cuties were in place. Plus it’ll really help the wear and tear on your fresh paint job.
If you like how ours turned out here are the knobs and pulls that we got on Amazon (we love amazon). Round Knob Bar Handle Pull
(both affiliate links)
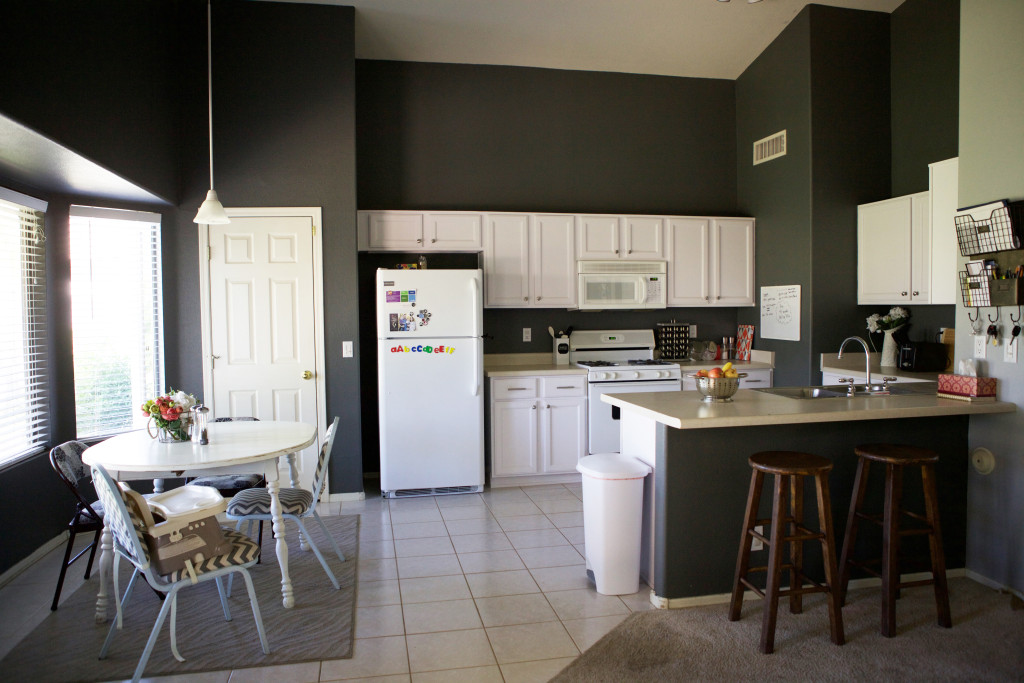
Now sit back and look at all your hard work!!!
Painting my cabinets was one of the biggest projects I have EVER undertaken but in the end I’m so glad I did it. My husband is a saint for painting them with me. Hopefully you have a painting buddy too but if you don’t… YOU CAN DO IT!!
If you have redone your cabinets and have a tip that you’d like to share leave a comment below, or for those of you who are going to follow this tutorial, let me know how it goes!!
GOOD LUCK!



Cuteness! It looks so good and you make it sound super easy. Love it!
Thanks Anna! I really do love how it turned out. And can I just say your baby girl is so sweet and adorable. I just wanna squeeze her.